/images/logo.png
A Network Blog by a Network Engineer

Junos – Loading configs – 4 of 5 – Update

This is the fourth post in the Loading Configs series. In this post, we will cover the load update command. We touched on this in post one when we discussed override. This command, update, is less destructive as it will update the configuration, yet the Junos device will only evaluate the differences between the running and what you have staged.

Here is a quick refresher on what we are doing…

For this lab series, we will use a simple topology to demonstrate the different ways to load configs. We have our SRX configured with TRUST and UNTRUST zones, a connection to the Internet, and a Windows 7 PC that has a browser installed. We will focus on making changes to our security policies.

This image has an empty alt attribute; its file name is Diagram_r1.jpg

Junos – Loading Configs – 3 of 5 – Replace

This is the third post in the Loading Configs series. In this post, we will cover the load replace command. This command shines when you want to replace parts of a configuration without having to delete a bunch of stuff. It is really powerful in security policies and firewall filters, places where you tend to want to replace a lot of configs quickly.

Junos – Loading Configs – 2 of 5 – Patch

This is the second post in the Loading Configs series. In this post, we will cover the load patch command. The beauty of the load patch command is that you can load the config on one device, issue a show | compare, and take that output and patch another device. This is also useful when you want to test your commands for a change, roll it back, and then re-apply it later.

Here is a quick refresher on what we are doing…

For this lab series, we will use a simple topology to demonstrate the different ways to load configs. We have our SRX configured with TRUST and UNTRUST zones, a connection to the Internet, and a Windows 7 PC that has a browser installed. We will focus on making changes to our security policies.

This image has an empty alt attribute; its file name is Diagram_r1.jpg

Junos – Loading Configs – 1 of 5 – Merge

In this post series, we will cover one of the wonderful things with Junos, which is loading configurations to the devices. Compared to other vendors where you paste into a live configuration, Junus uses a candidate configuration for all changes. A great benefit of this is that there are a few ways to load configurations onto the devices.

The ways we can load the configurations are shown below.

  factory-default      Override existing configuration with factory default
  merge                Merge contents with existing configuration
  override             Override existing configuration
  patch                Load patch file into configuration
  replace              Replace configuration data
  set                  Execute set of commands on existing configuration
  update               Update existing configuration

I want to briefly touch on a few of the commands.

The first command, factory-default, is a way to soft reset the configuration back to the factory configuration without losing any of the locally stored data. The alternate way is factory default the configuration is to use the request system zeroize command. The zerioze command will rest the device back to the factory configuration and remove all locally stored user data (logs, files, etc).

The second command, override, will discard the current configuration and replace it with what you load into the device. When doing this the Junos device will re-evaluate the entire configuration you have entered. By re-evaluating the config, it will treat everything like it is new and you will have an impact to the device. If you want to just update the config and not re-evaluate everything, then you would use load update, which we will cover in post 4.

For this post, we will cover merge, patch, replace, update, and set.

Junos Policy Based VPNs – Part 4 of 4 – Recap

I figured I would take a moment and recap theses past few posts and talk about the different methods now that we understand what they are. I also want to talk about some of the things to consider when choosing your approach.

Policy-Based with Security Policies

In our first post, we covered using security policies to establish and pass the traffic over the tunnel. There are a few challenges with this type of configuration is that you need to be keenly aware of.

You need to keep in mind that the order of security policies is critical. If you have a policy that permits or denies this traffic before the policy that says to tunnel the traffic, you will never send the traffic over the tunnel. Also, new security policies are always placed at the end of the current policies, so when you add a new VPN, you will need to remember to insert the new policy in the proper location.

Junos Policy Based VPNs – Part 3 of 4 – Traffic-Selector

This is the third and final post in the Policy-Based VPN series. In our first post, we configured a policy-based VPN using security policies tied to the UNTRUST interface. In our second post we used IPSec proxy-ids to define the tunneled traffic. This post will be covering the preferred method of Juniper policy-based VPNs, traffic-selectors.

The first part of this post is the setup of the labs, just like we did in the last post. If you want, you can skip down to where we delete the old configuration to see how the new configuration is done.

To recap, there are four different VPN configurations in this series:

Junos Policy-Based VPNs – Part 2 of 4 – Proxy-Identity

This is the second post in the Policy-Based VPN series. In our first post we configured a policy-based VPN using security policies tied to the UNTRUST interface. For this post, we will be using a route-based configuration that allows interoperability to the remote side configured as a policy-based VPN. This will also allow us to define a dedicated security zone for the VPN, hence helping to increase security. What we will be using in this post are proxy IDs to define local and remote networks.

The first part of this post is the setup of the labs, just like we did last time. If you want, you can skip down to where we delete the old configuration to see how the new configuration is done.

To recap, there are four different VPN configurations in this series:

Again, I will be using Juniper vLabs IPSEC VPN Policy-based lab for these posts. Feel free to head on over there and spin the lab up yourself when you are ready and kick the tires on these different configurations. Below is our diagram for the lab topology.

Junos Policy-Based VPNs – Part 1 of 4 – Security Policies

Policy-based VPNs are a pain most of the time, especially when compared to route-based VPNs. Many of the policy-based VPNs I run across today are legacy configurations dealing with ASA or interop between vendors where the one side only supported policy-based VPNs.

With Junos, there are four ways to configure VPNs to support policy-based VPN requirements. Two are a true policy-based VPN and the other two are actually route-based VPNs that support policy-based VPNs.

The four different VPN configuration options are:

  • Uni-directional policy-based VPN (Covered in this post)
  • Bi-directional policy-based VPN (Covered in this post at the end)
  • IPSEC proxy-identity route-based (Coming soon)
  • IPSEC Traffic selectors route-based (Coming soon)

There will be four posts in this series. The first post will cover the first two items listed above, the second will cover proxy-identity, the third will cover traffic-selectors, and the last post will be a wrap-up recap with pros and caveats to each option.

I will be using Juniper vLabs IPSEC VPN Policy-based lab for all these posts. We will only be working with one SRX to emulate what setting up a VPN would really be like. Feel free to head on over there and spin the lab up yourself when you are ready and kick the tires on these different configurations. Below is our diagram for the lab topology.

Pi-Hole for home DNS

Pi-hole? Huh? DNS? What I am going on about now you may ask. Pi-hole is billed as a “Network-wide Ad Blocking,” a black hole for Internet Advertisements. While it is that, it can be much much more – I can also help you secure your network to some extent.

For me, I am using it to help filter out some advertisements, but also using it to block tracking websites, known malware sites, as well as tracking what my internal clients are talking to.

Want to know how effective a tool like Pi-hole can be, let’s look at the 24-hour stats for my home network below. Keep in mind that there are 5 of us here, I work from home, and we stream everything on Rokus.

Juniper vLabs

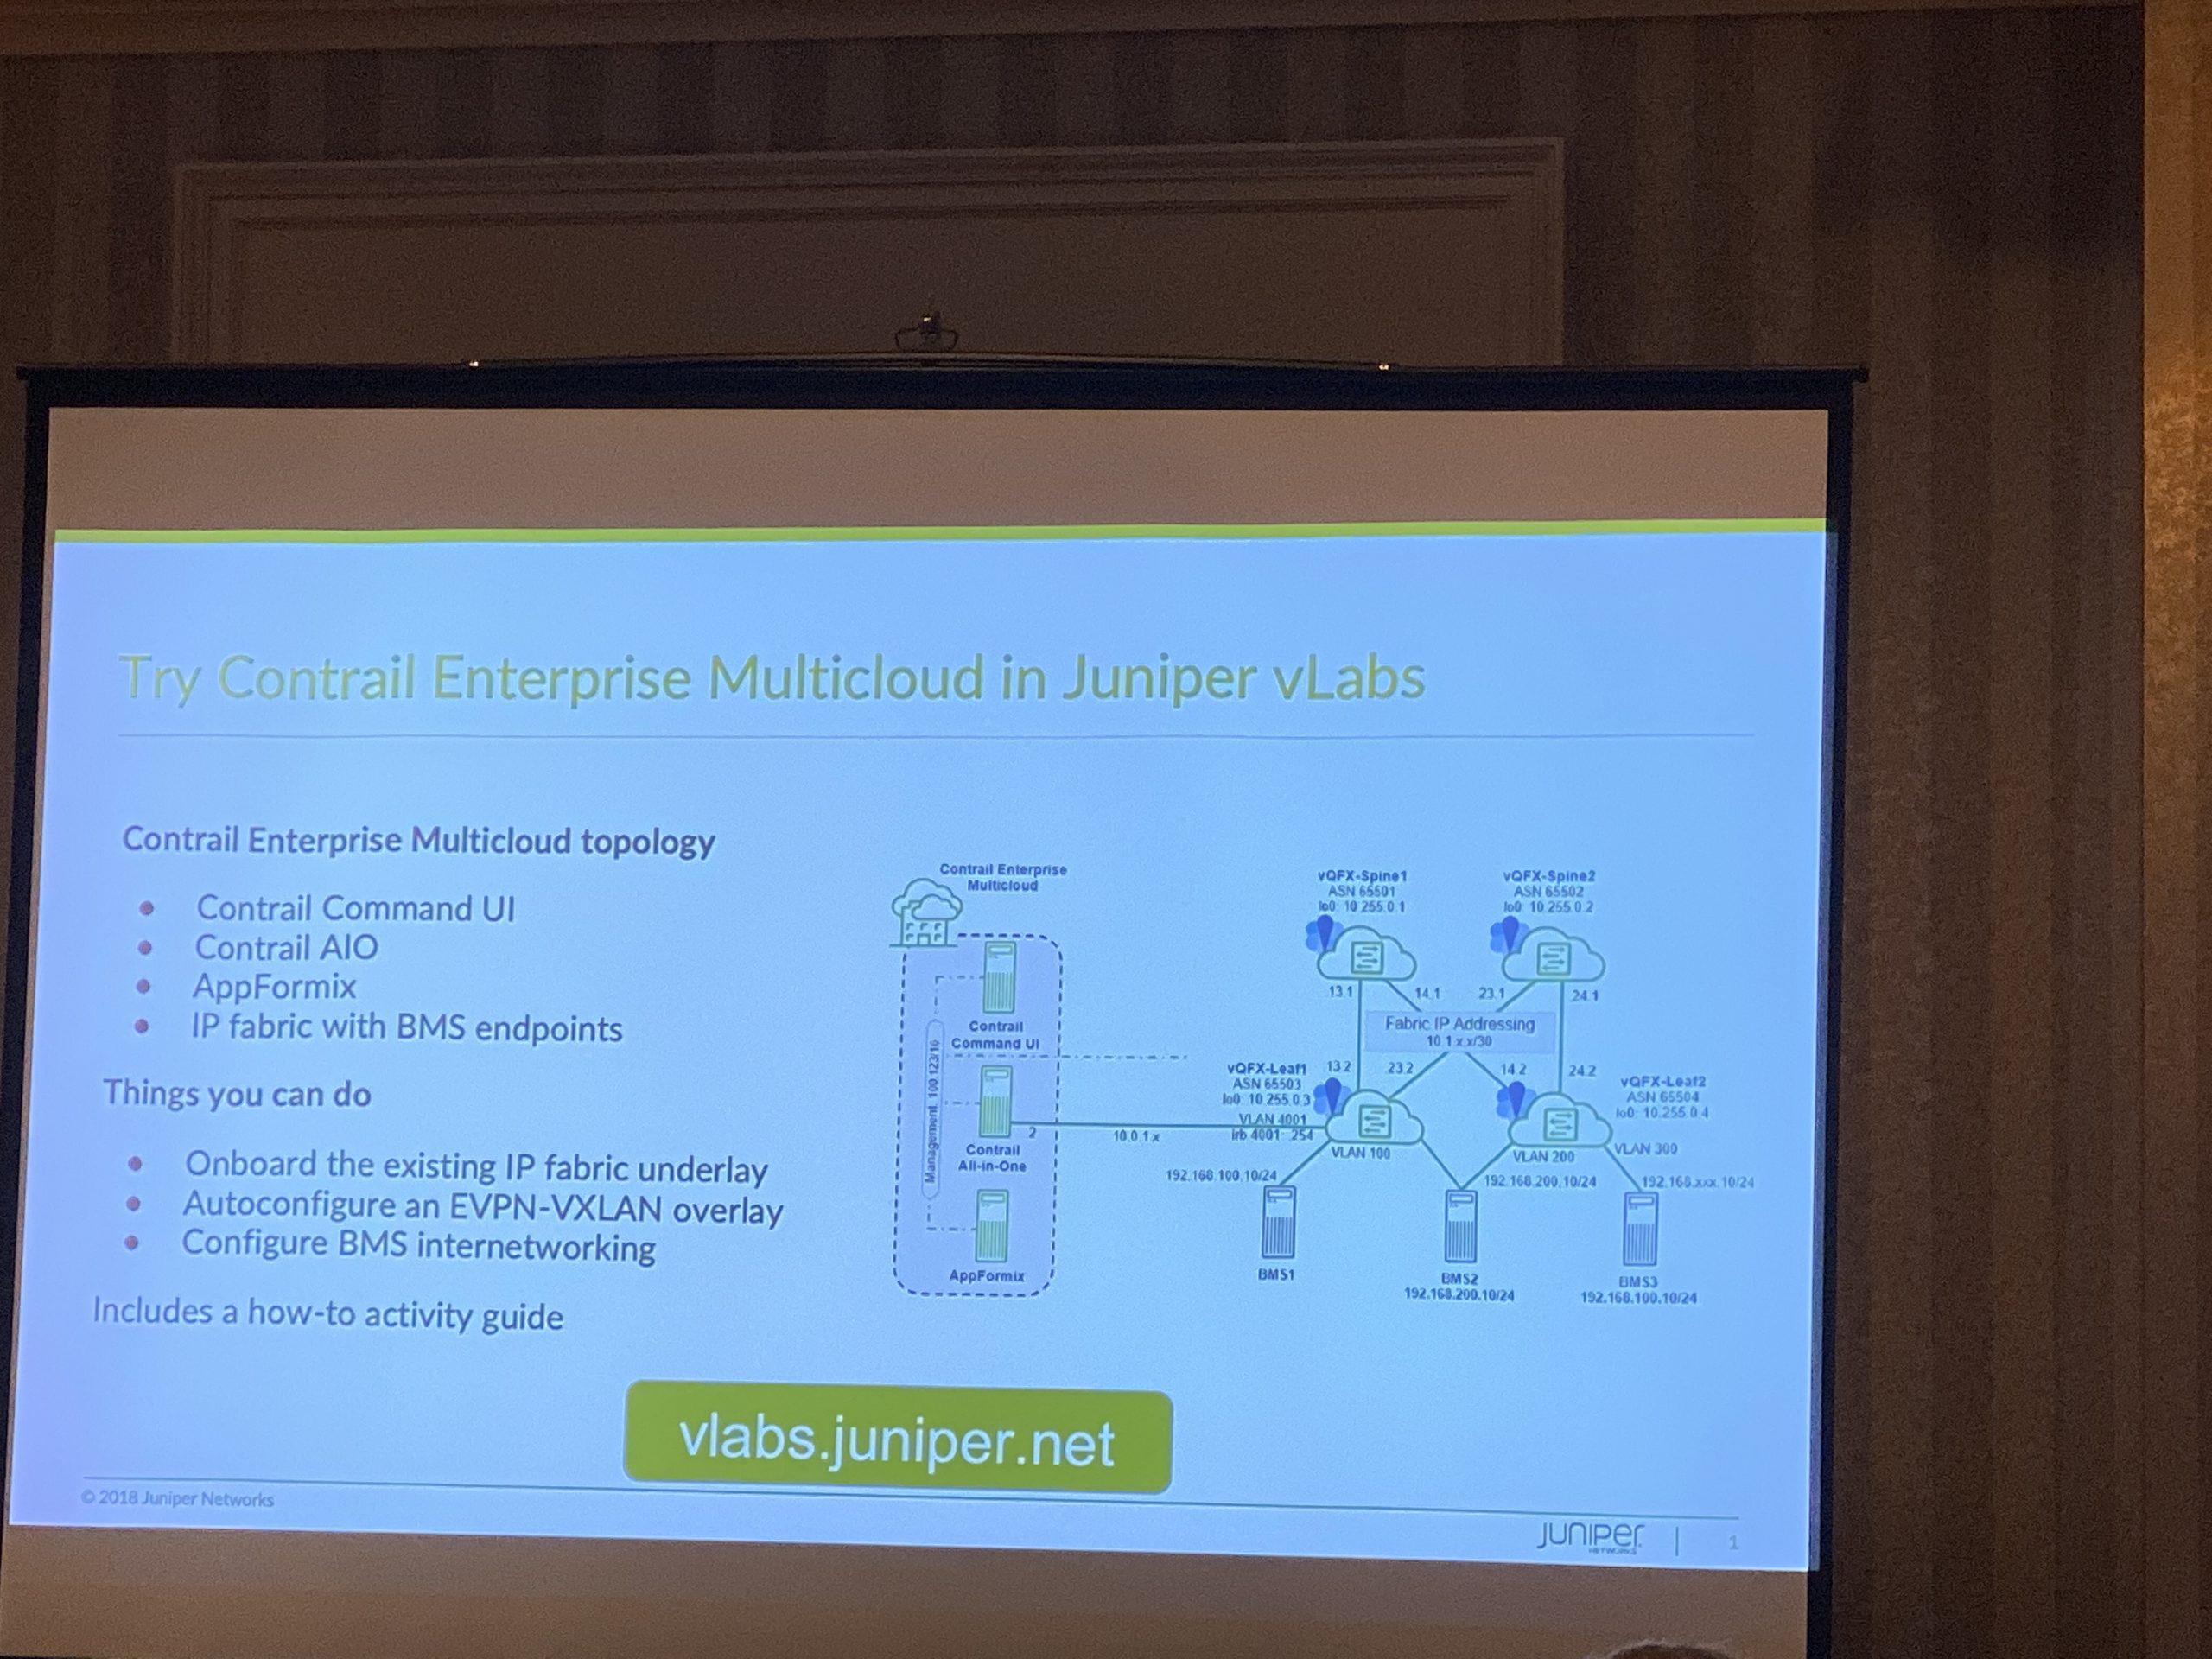
A little over a year ago Juniper released Juniper vLabs. What vLabs is, is a place where you can safely lab and learn on Juniper virtualized hardware. When it was first launched there where about six labs available:

Standalone
Standalone vMX
Standalone vSRX
Standalone vQFX
Routing
OSPF – Single-area
OSPF – Multi-area
BGP / OSPF

If you check out Juniper vLabs today, you will find 20 labs available across five different topic areas. With these labs, and I did test out a few, you do need to “reserve” them and you get them for about 3-hours. Everyone that I “reserved” was available immediately and ready to go in about 15 minutes. I did receive e-mails when I reserved when the lab was ready, and when I ended it.