 Fryguy's Blog
Cisco Live Celebration (CAE) Hats over the years.
There is a tradition at Cisco Live (formerly Networkers) to have a unique, event-related hat at the Customer Appreciation Event, as of 2023 now called Cisco Live Celebration! I wanted to share the information that I was able to research on these hats as well as the pictures of the hats over the years. It is my intention to make this an ongoing post that will be updated every year when a new hat is distributed at the event. Some of the photos on this page are some of my own, some from Bryan Baize, others from Don Slice, and yet some came from Cisco Live directly. If you have any additional information you would like to share, please feel free to e-mail me or leave a comment at the end of this post. I can only make this post better and more comprehensive with your help.
If you are looking for the history of the bags, another item that is unique to each event, Tom over at NetworkingNerd has a few years covered. Maybe this will inspire him to find out the rest!
2024 – San Diego, CA – June 2-8
It looks like we are heading back to beautiful San Diego, CA for Cisco Live in 2025.
2024 – Las Vega, NV – June 2-8
Well, 3rd – err 4th time is the charm? It looks like we are heading back to Las Vegas, NV again! Alas I will be m missing it again this year, fingers crossed for 2025.
The band for this year is none other than Sir Elton John at Allegiant Stadium.
The hat was based off a classic Sir Elton John hat and was available in Blue, White, and Green.
Pics will be up soon!
2023 – Las Vega, NV – 6/4-8
Once again Cisco Live is back in Las Vegas, NV at the Mandalay Bay Convention Center. This was the first year since 2005 that I have missed going in person, withdrawal is real!
The bands for this year are Blake Shelton and Gwen Stefani and it is being held at Allegiant Stadium.
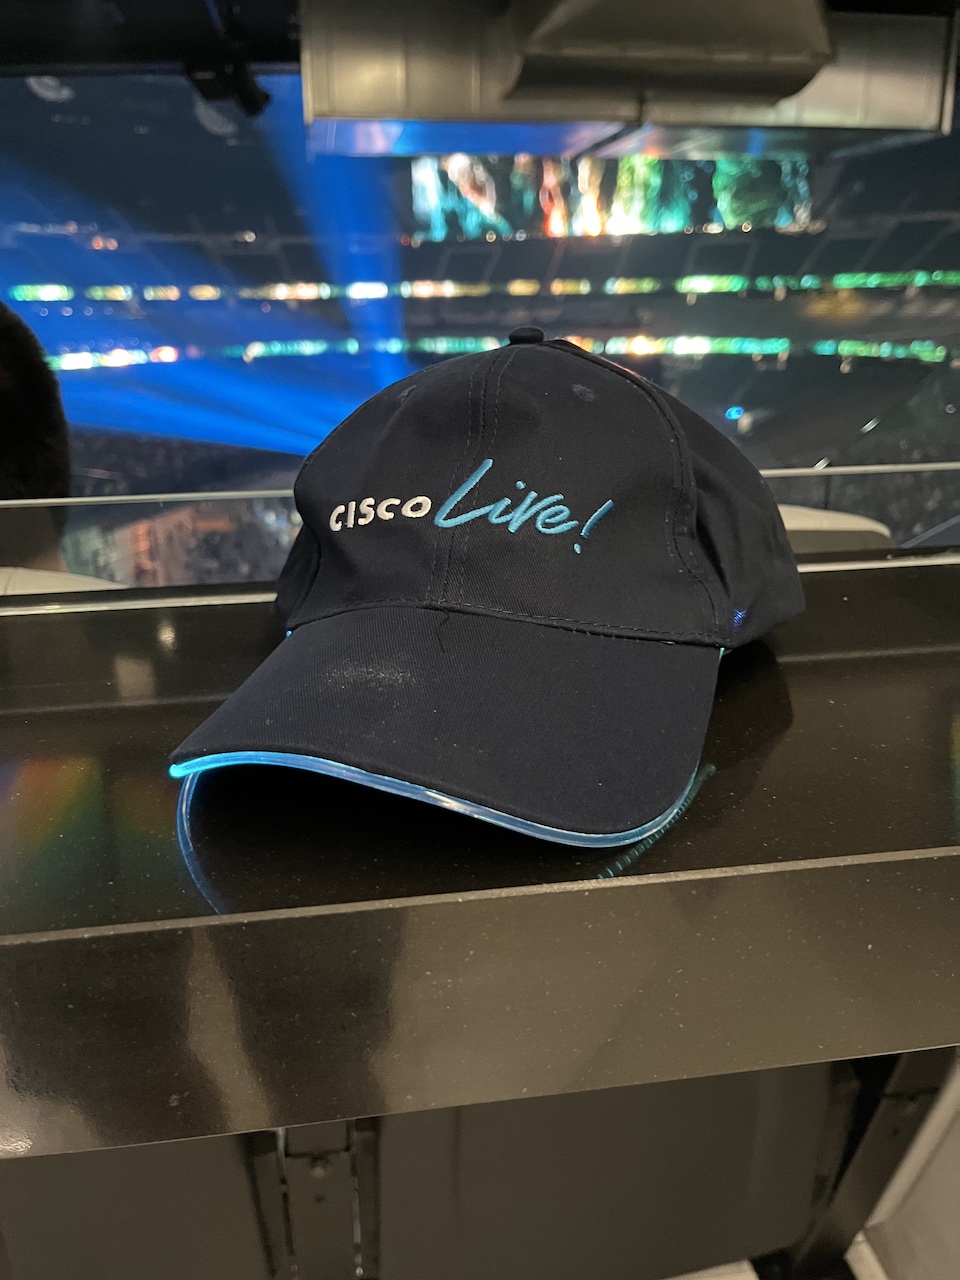
That hat is….a baseball cap that has an illuminated brim. I am pretty sure that the colours included Blue, Green, and Orange.
2022 – Las Vega, NV – 6/12-16
We are back in live and in-person in Las Vegas, NV at the Mandalay Bay Convention Center!
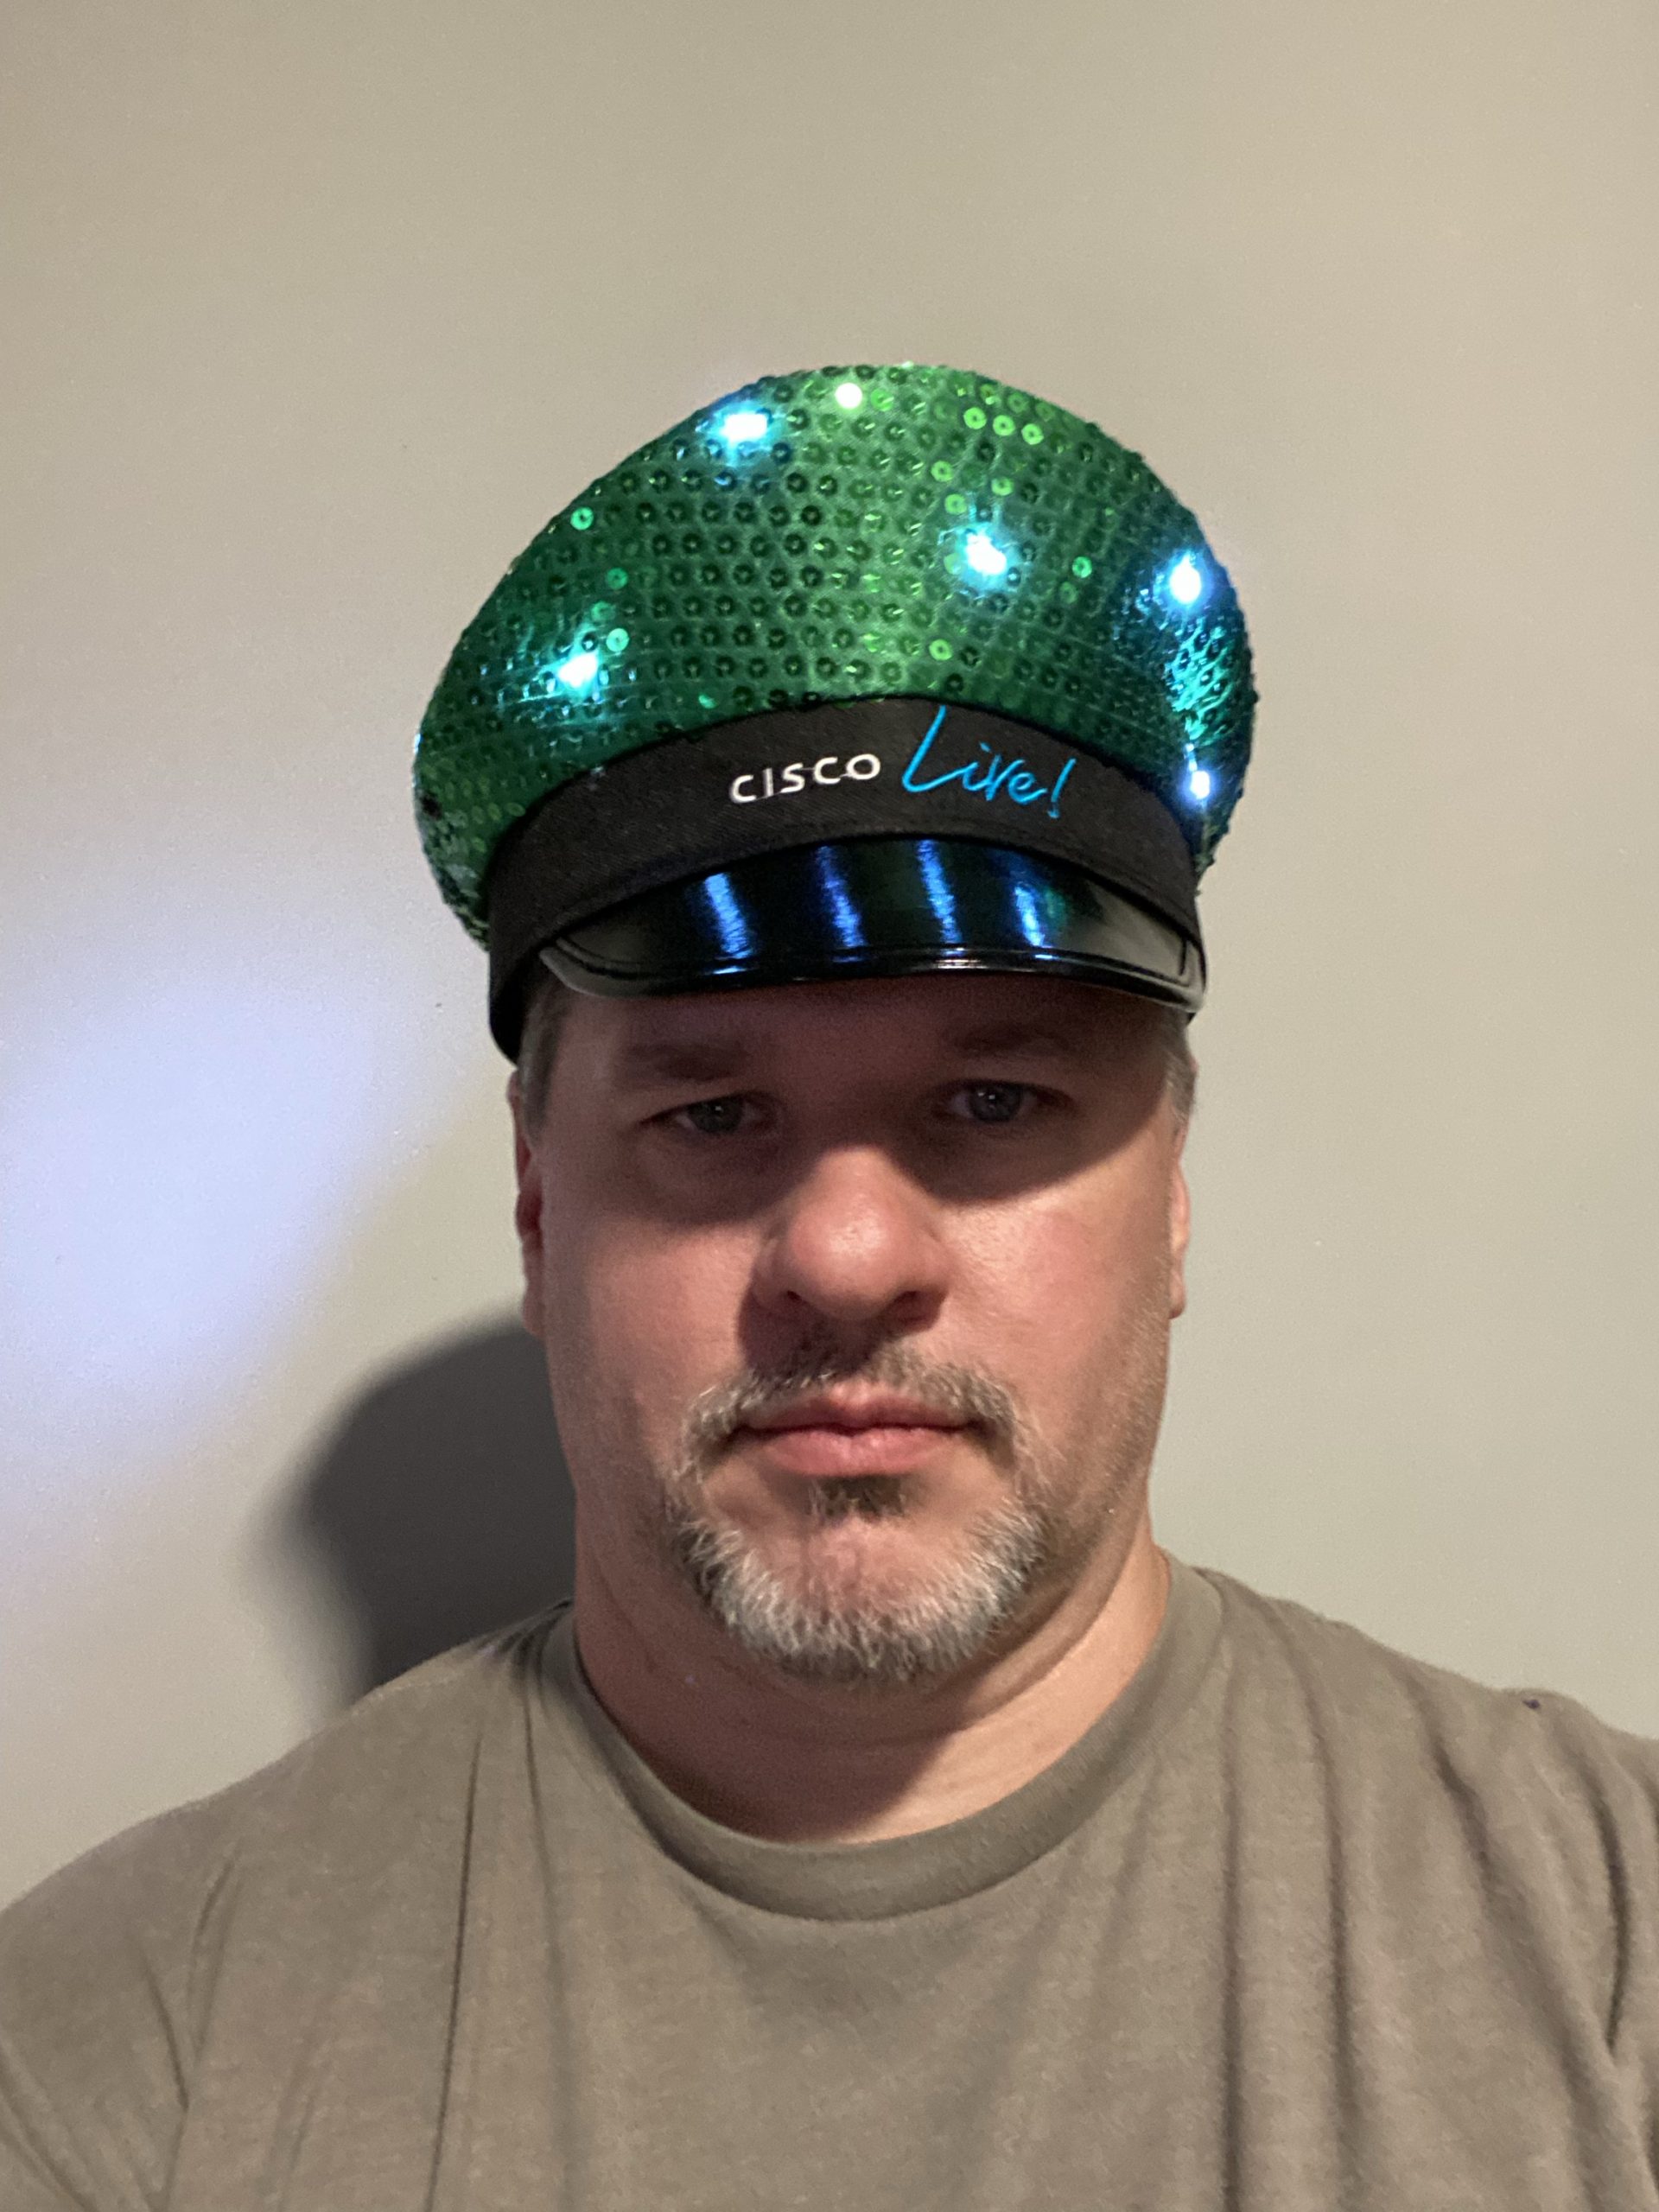
Our bands this year are Dave Matthews Band and Brittany Howard at the Thomas and Mack Center at UNLV. And the hats is….
2021 – On-line Only – 3/30- 3/31
This event was online only and no physical hat was given.
2020- Las Vegas, NV – 5/31 – 6/4
For 2020 we are heading back to Las Vegas, NV! Just remember – what happens in Vegas gets posted to social media! – The in-person event was canceled due to COVID-19 pandemic, no hat was given.
2019 – San Diego, CA – 6/9 – 13
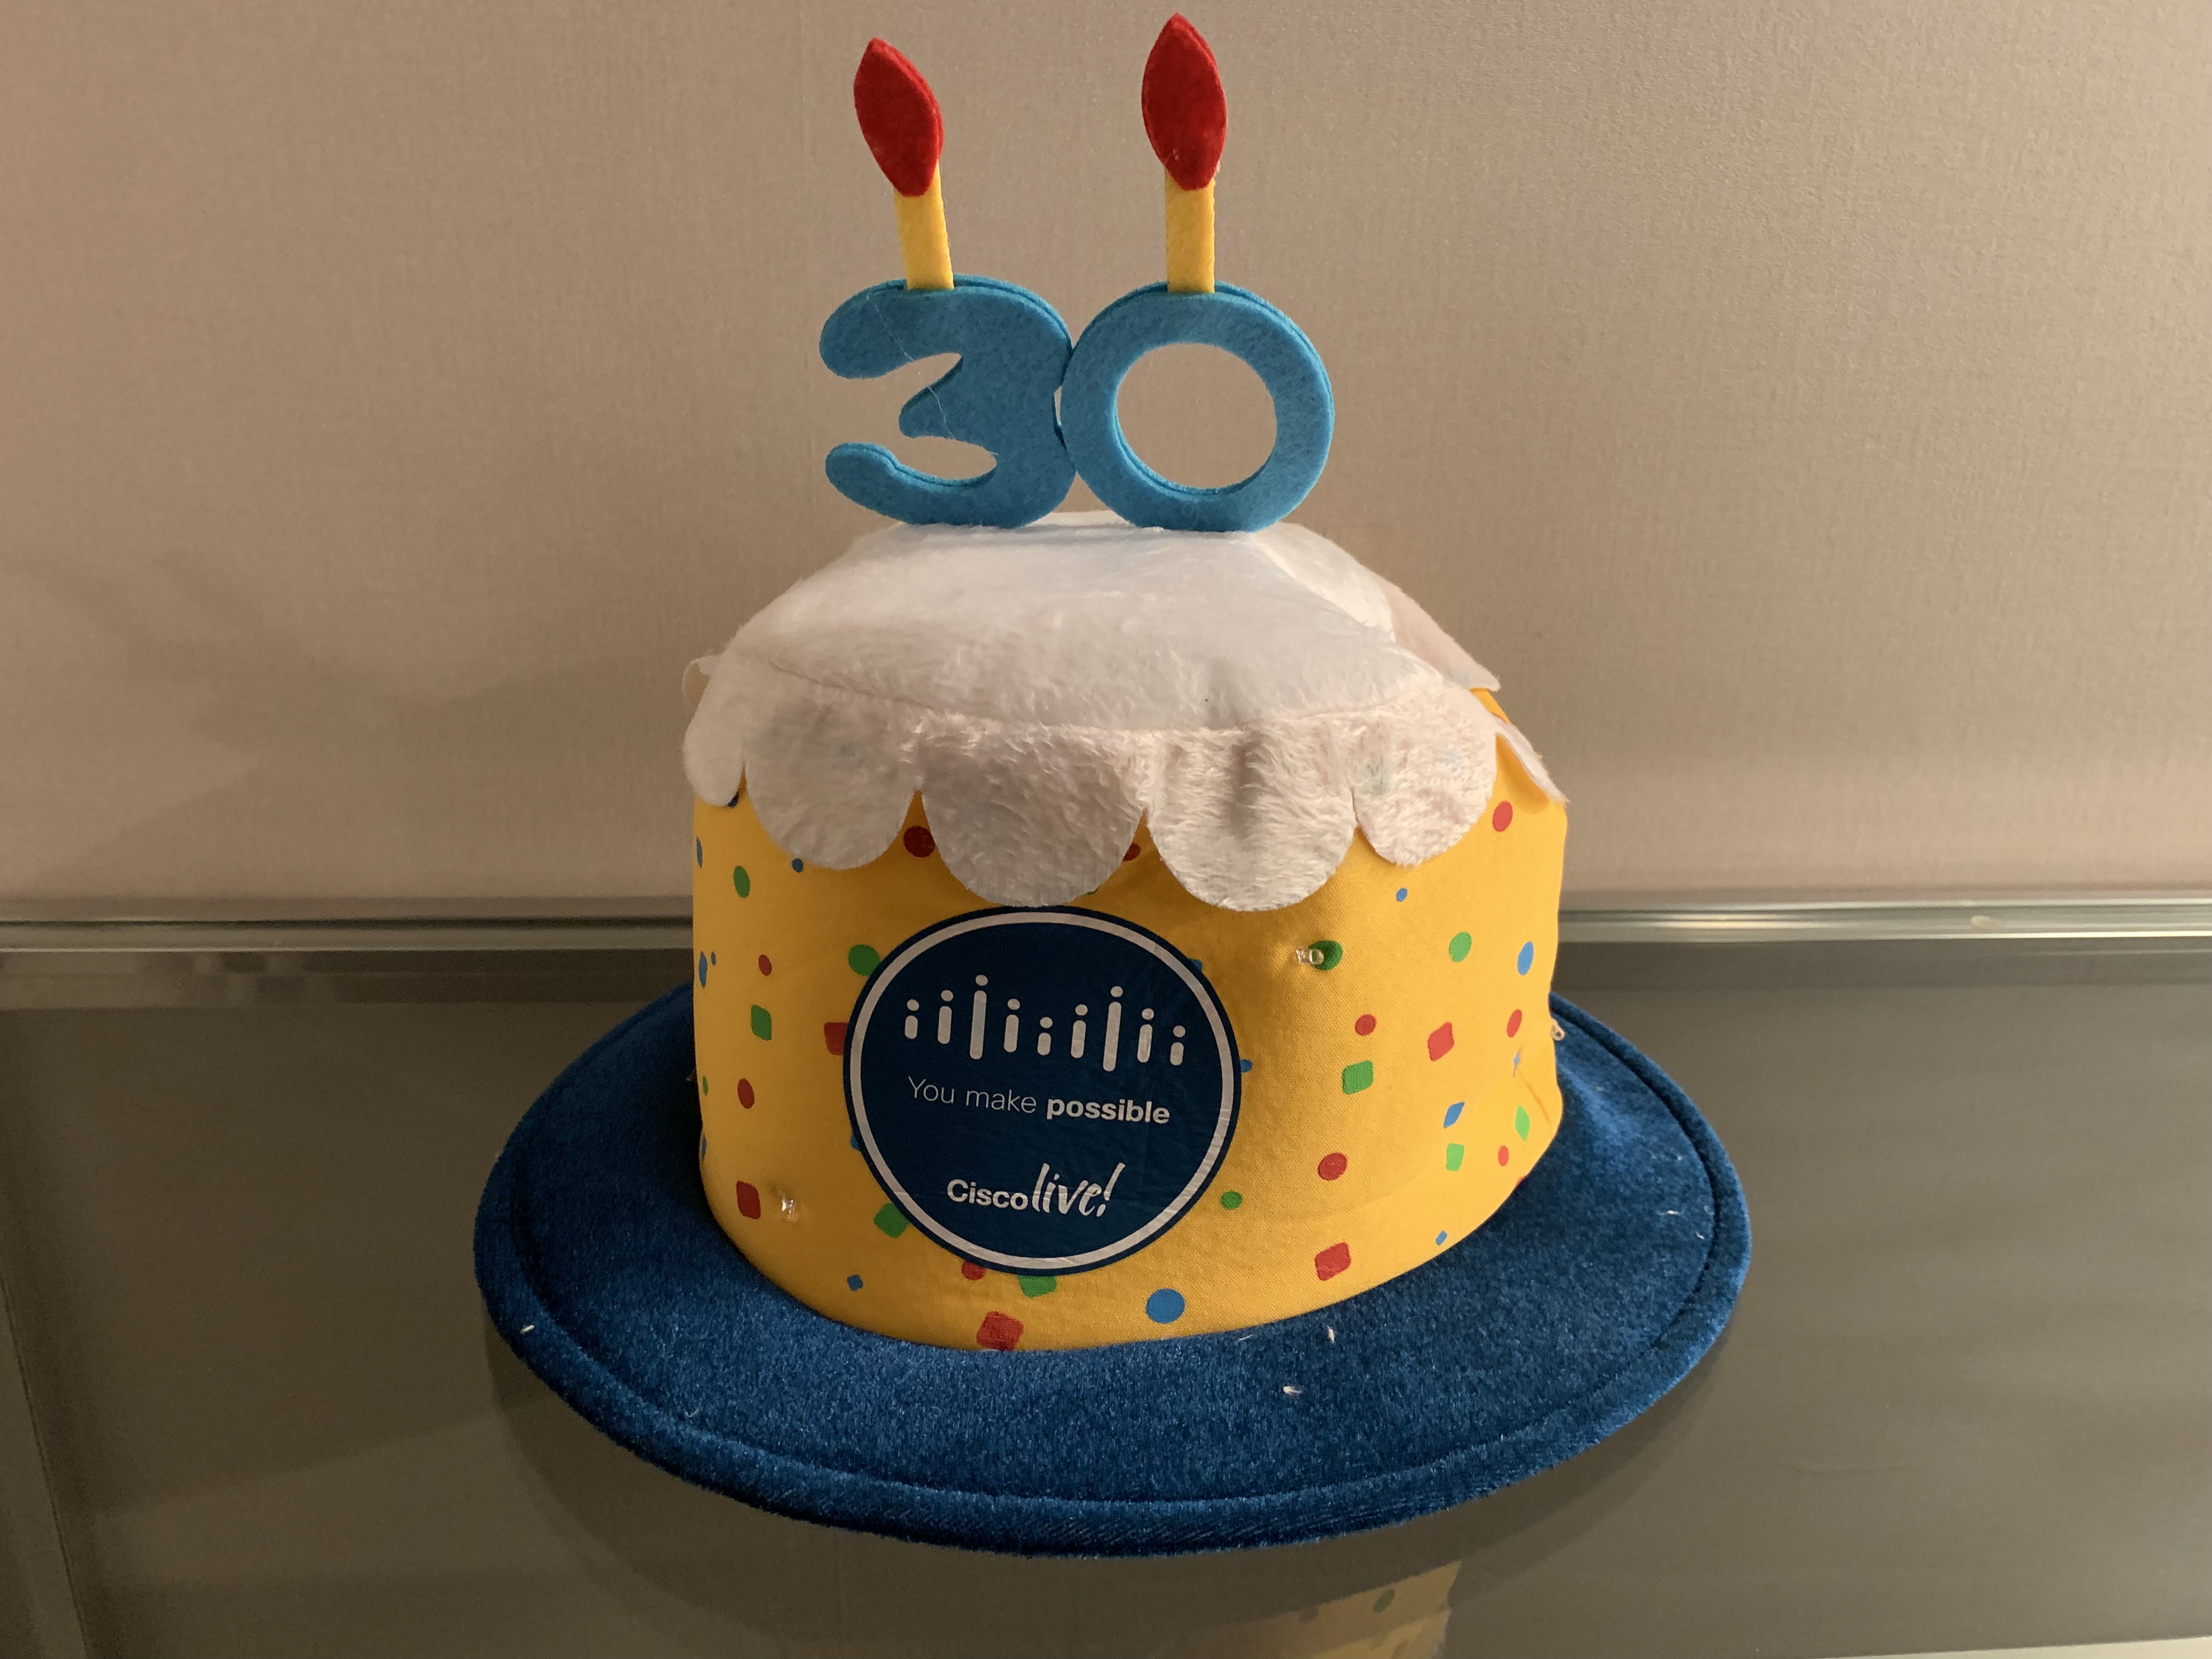
Happy 30th Birthday Cisco Live! Once again we are heading back to San Diego, CA for Cisco Live. Cisco has some great bands lined up for Cisco Live (Weezer and FooFighters). So to celebrate Cisco has broken out the Birthday Cake Hat with some BIG 3-0 candles on it!
2018 – Orlando, FL – 6/10 – 14
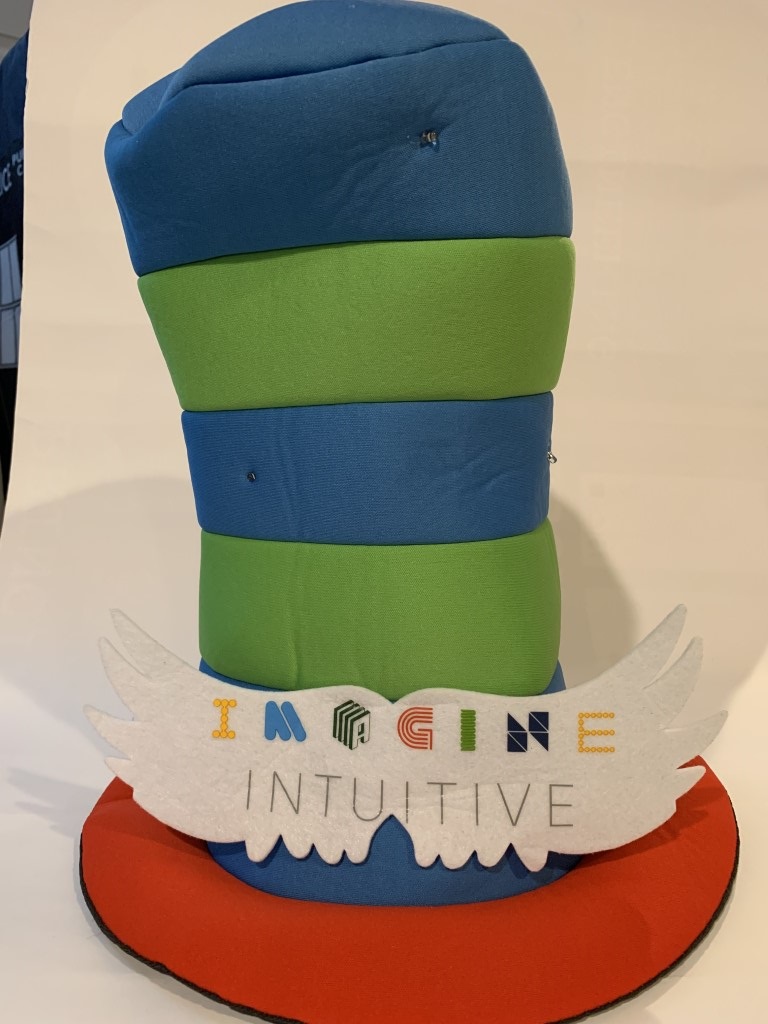
For 2018 we are heading back to the land of heat and humidity, Orlando, FL. It will be 5 years since we have been back – last time we all wore Minions on our heads! This year it is an Imagine Intuitive hat in a Seussical style with flashing lights. Really cool!
2017 – Las Vegas, NV – 6/25-29
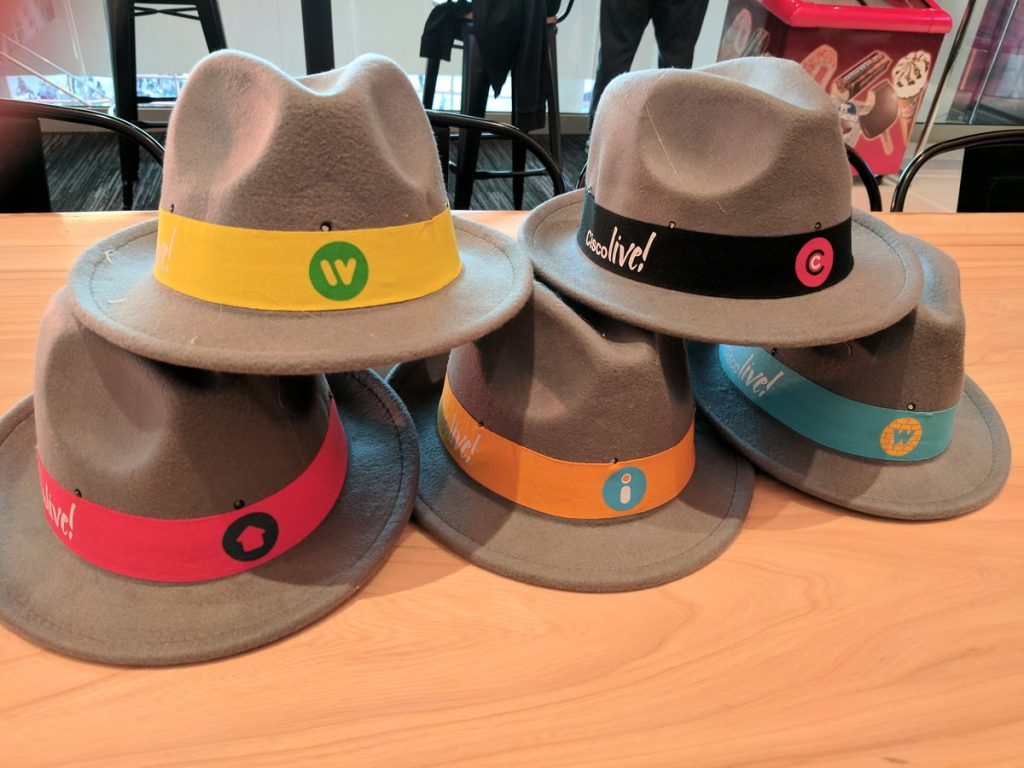
For 2017 we are back in Las Vegas, NV again. The CAE will be at T-Mobile arena again and we have the popular Bruno Mars as our headliner! Our hat this year was a Fedora style hat with flashing lights and assorted Super Hero logos. Photo courtesy of Jay Franklin (@jay25f on Twitter)
2016 – Las Vegas, NV
For 2016 we are back in Las Vegas, NV! The CAE this year was held at the brand new T-Mobile Arena. The opening act was Elle King with the main act being Maroon 5.
There were two hats this year, one blue and one white.
2015 – San Diego, CA
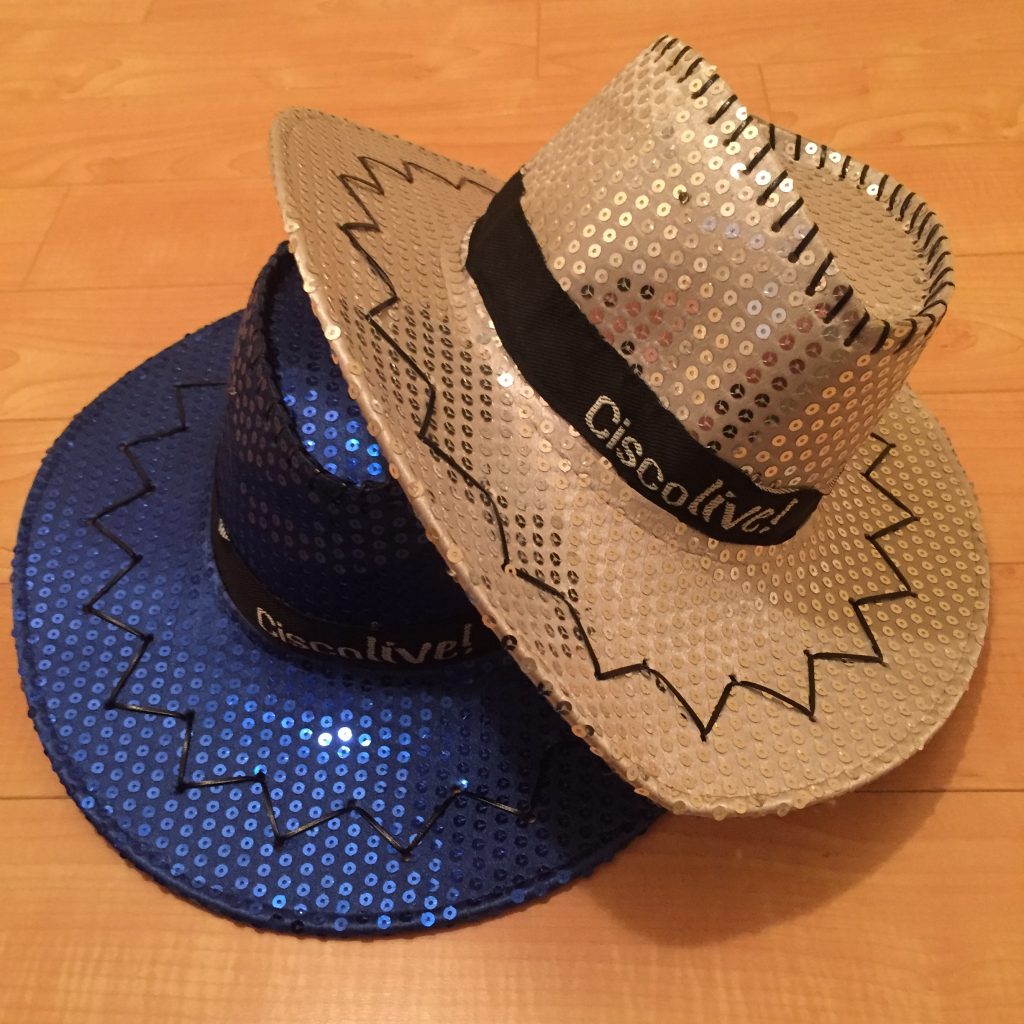
The 2015 CAE was held at Petco Park, the home of the San Diego Padres. Our entertainment for the event was Aerosmith and they ROCKED the house! We got some nice hats this year, but they do have a resemblance to the Cisco Live 2005 hats. These hats came in both White and Black. Below is an image of the white one.
2014 – San Francisco, CA
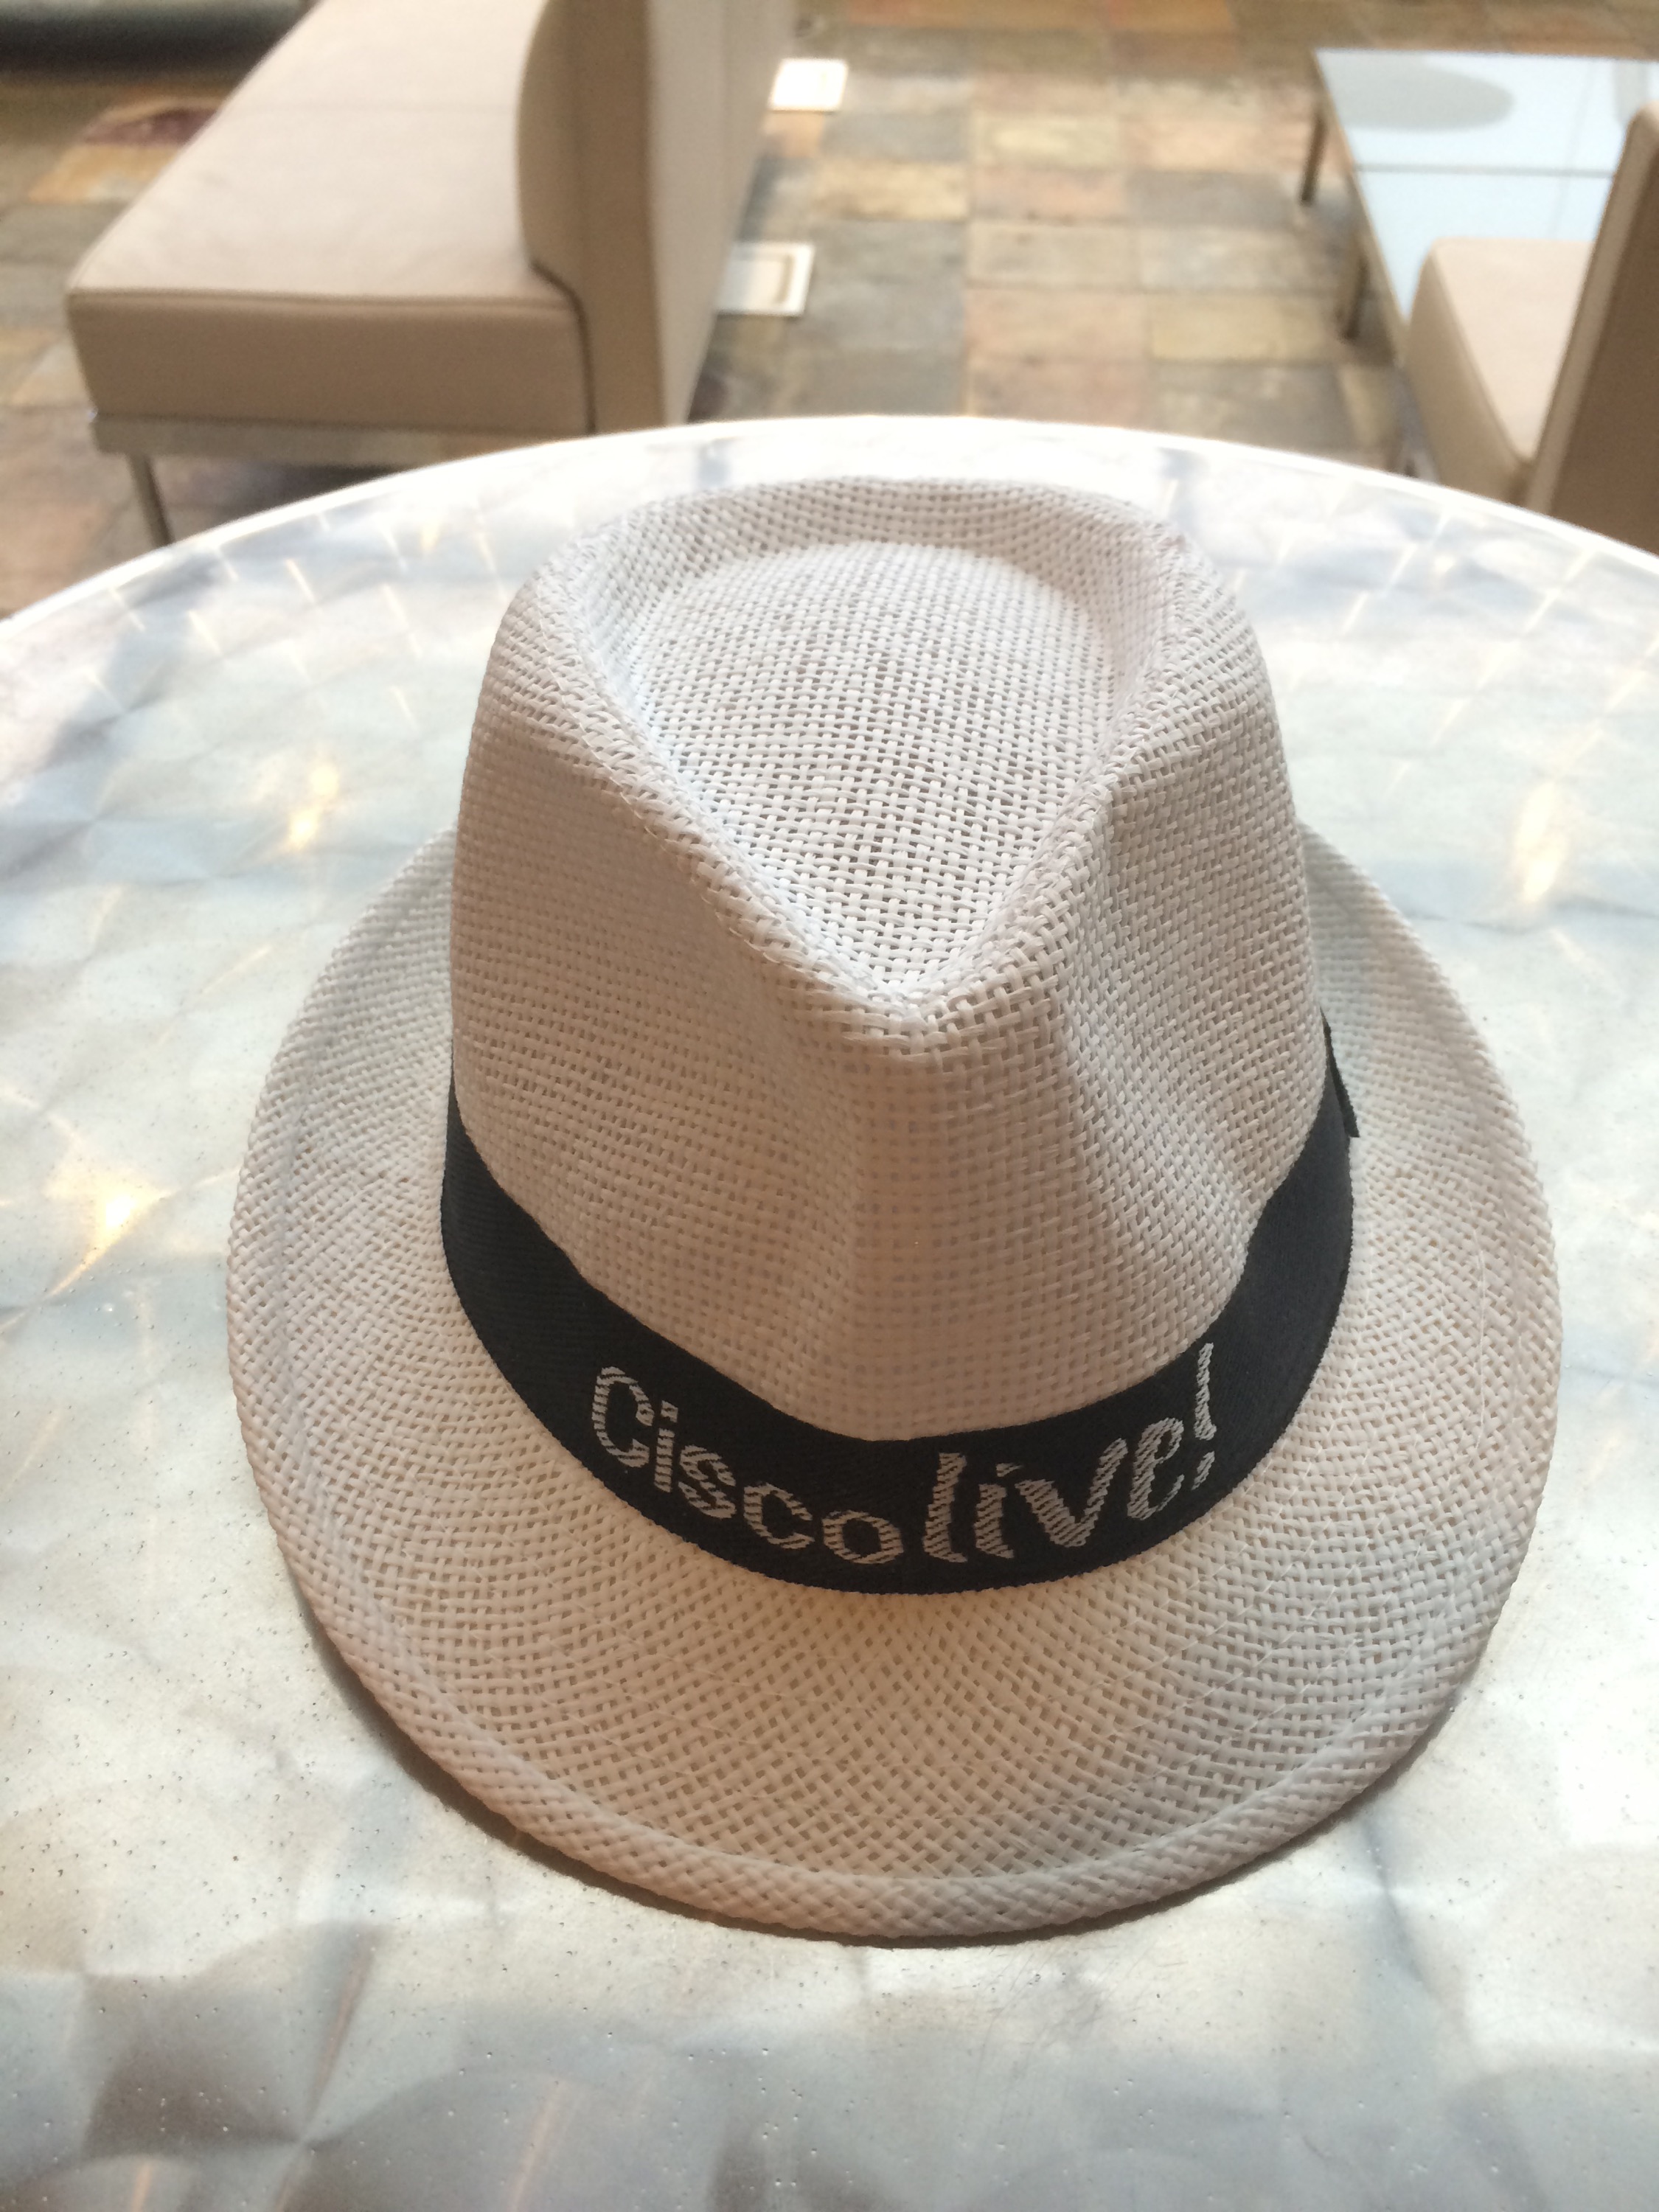
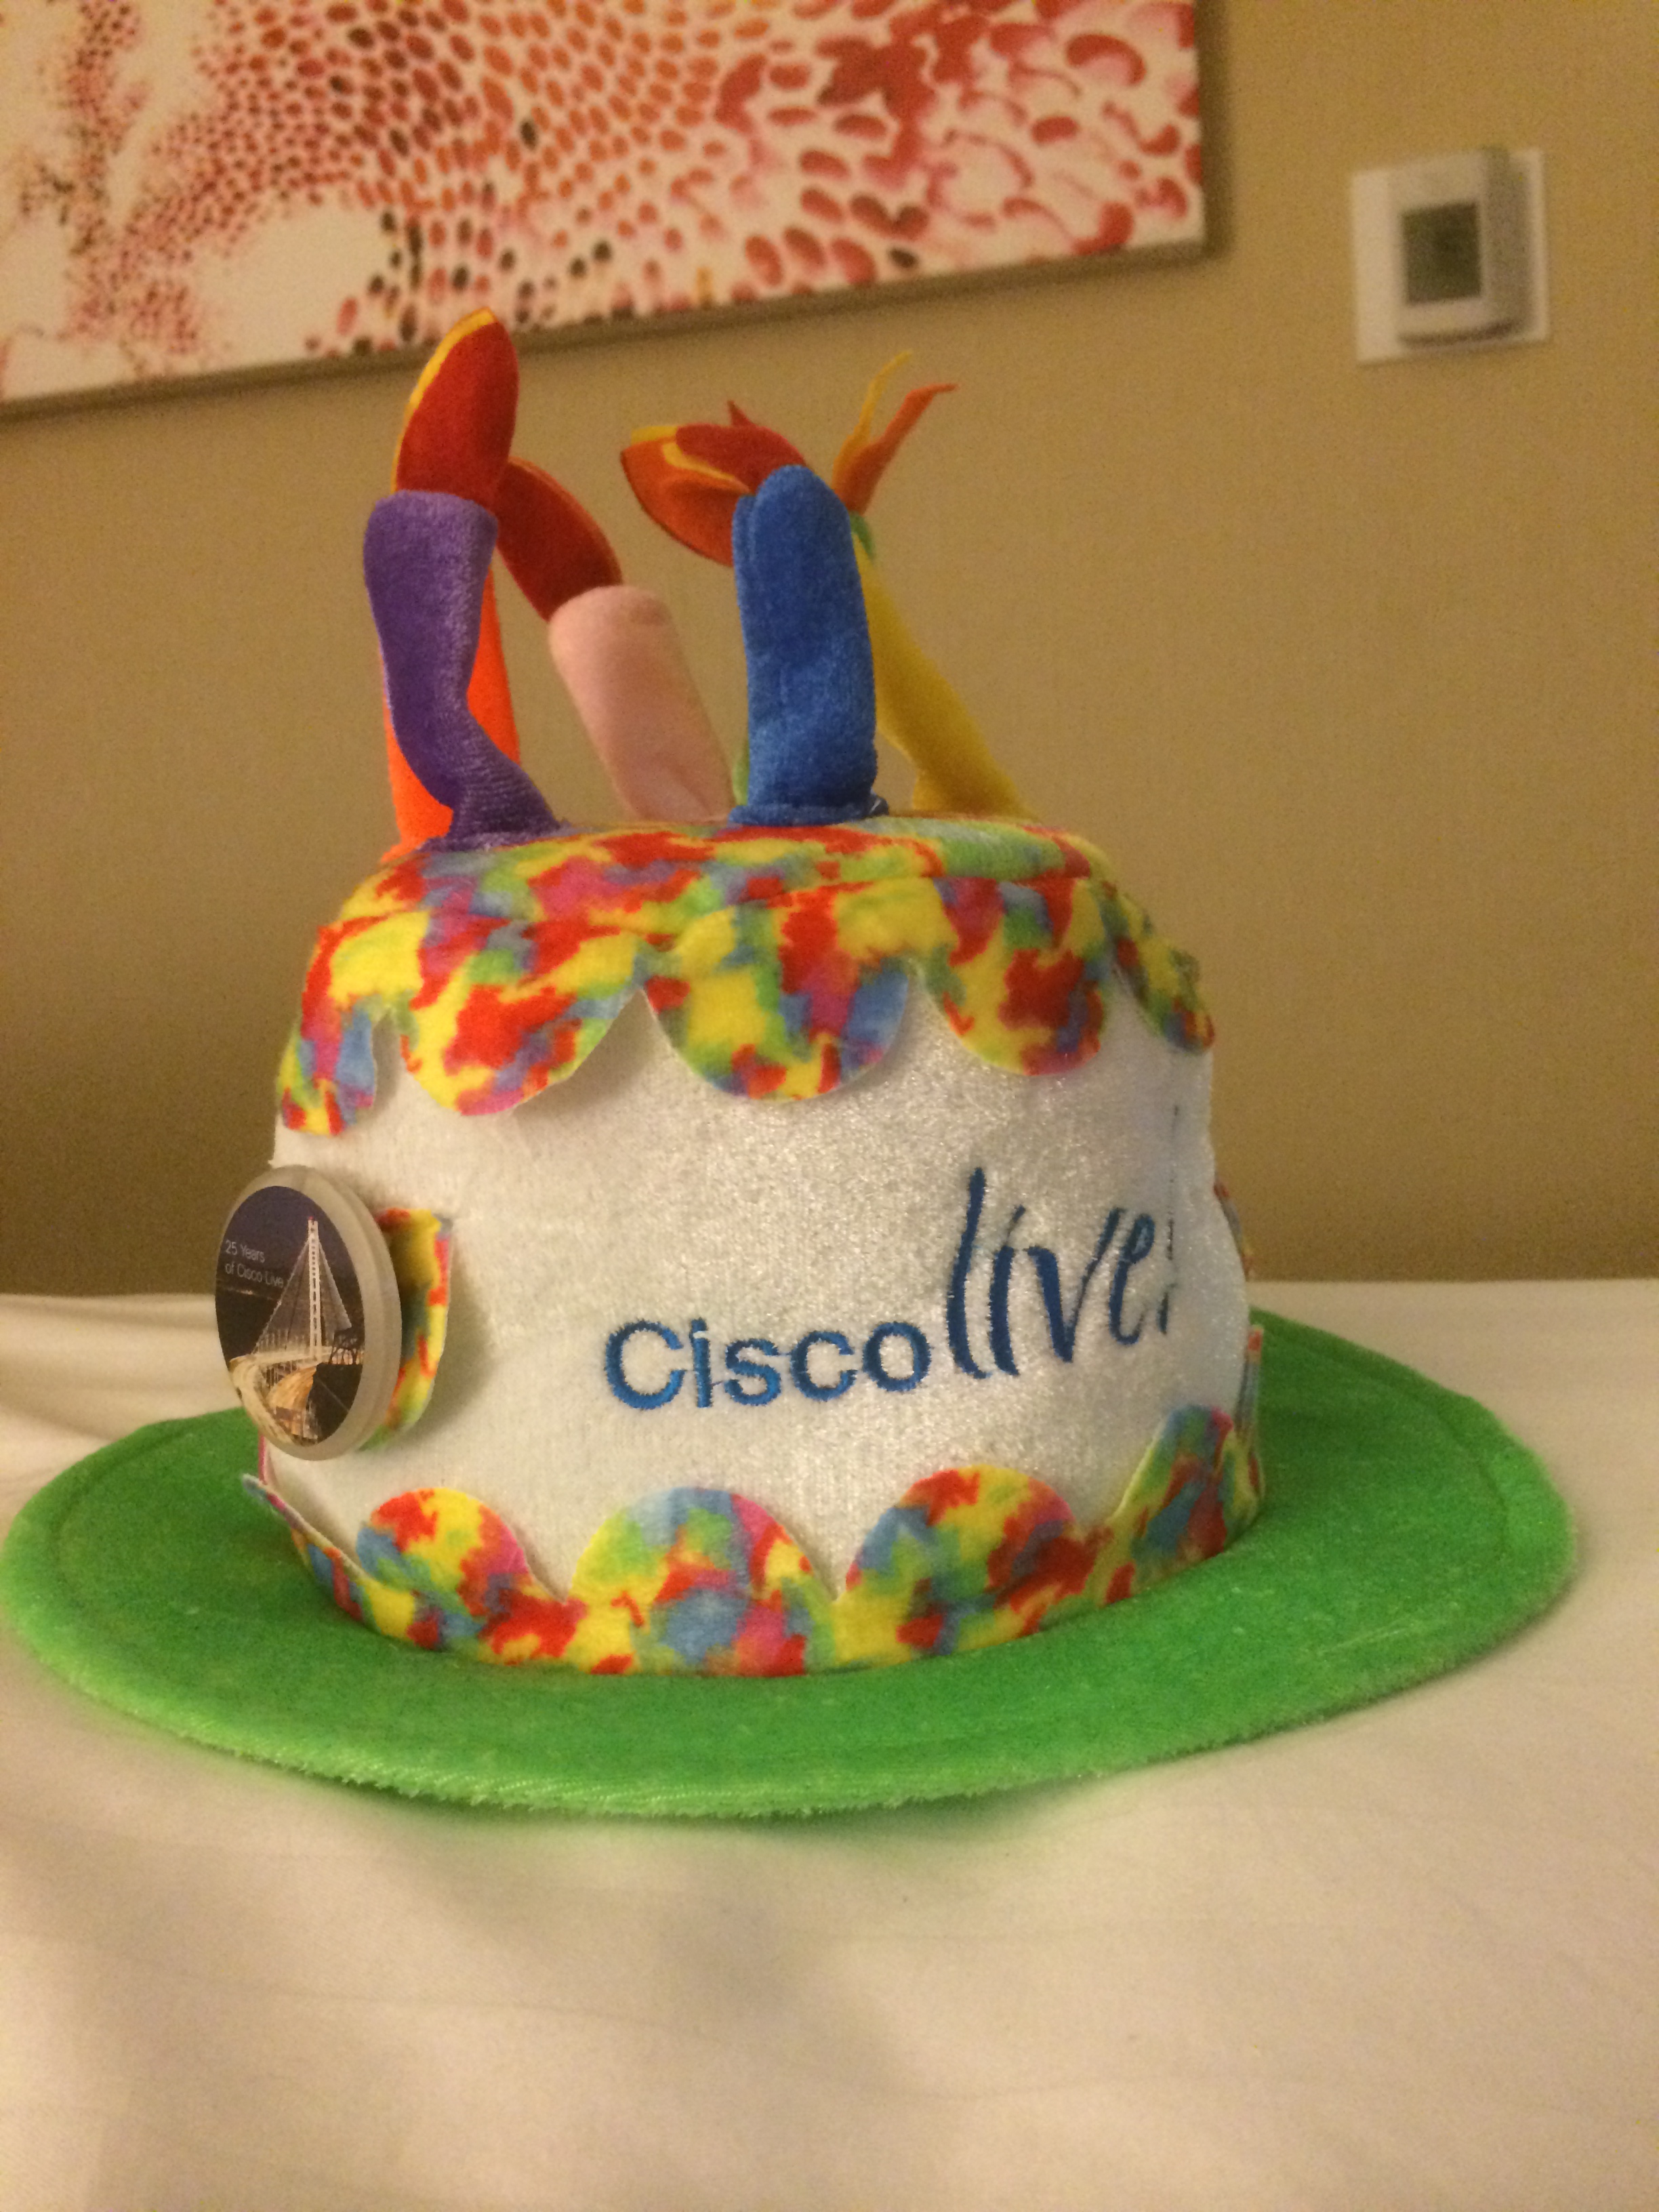
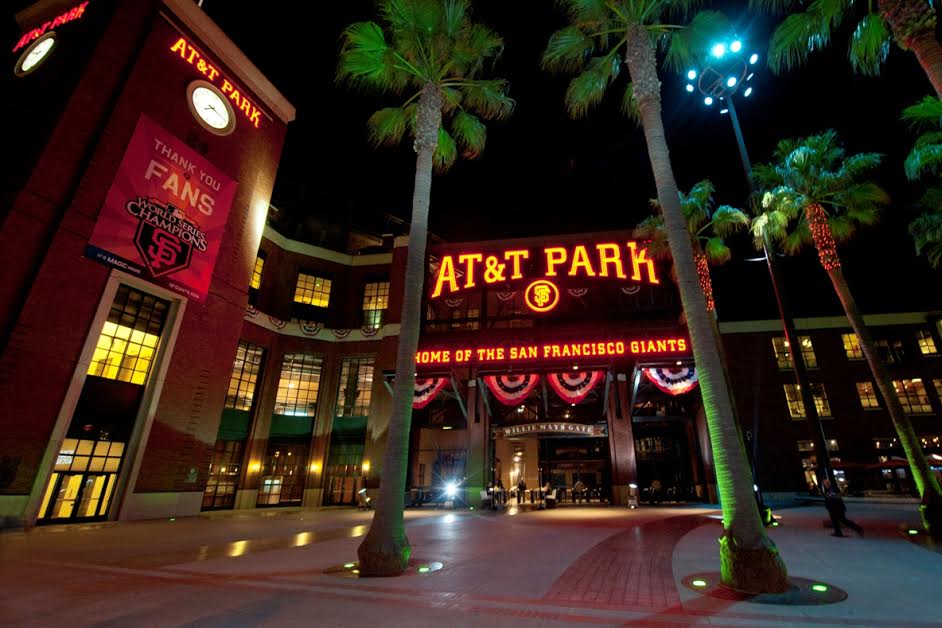
The 2014 CAE was held at AT&T Park, the home of the San Francisco Giants. And in celebration of Cisco Live’s 25 Birthday, our hat was very well suited! Our entertainment for the event was Imagine Dragons and Lenny Kravitz.
 Today is the day, the day that the Cisco Live US Scheduler opens for NetVets! It opens, per the Cisco Live tweet, at 11 AM PT / 2pM ET .
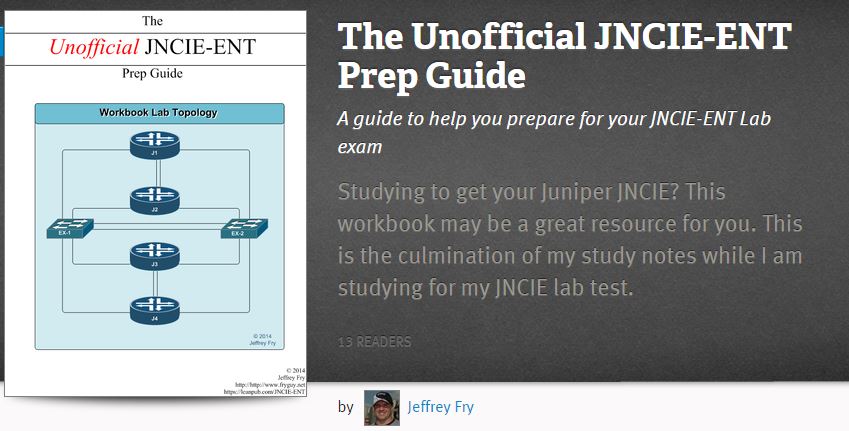
 Ok, you have survived all my individual posts and now, finally, the whole workbook in PDF format. You can find it….
  ][1]
][1]